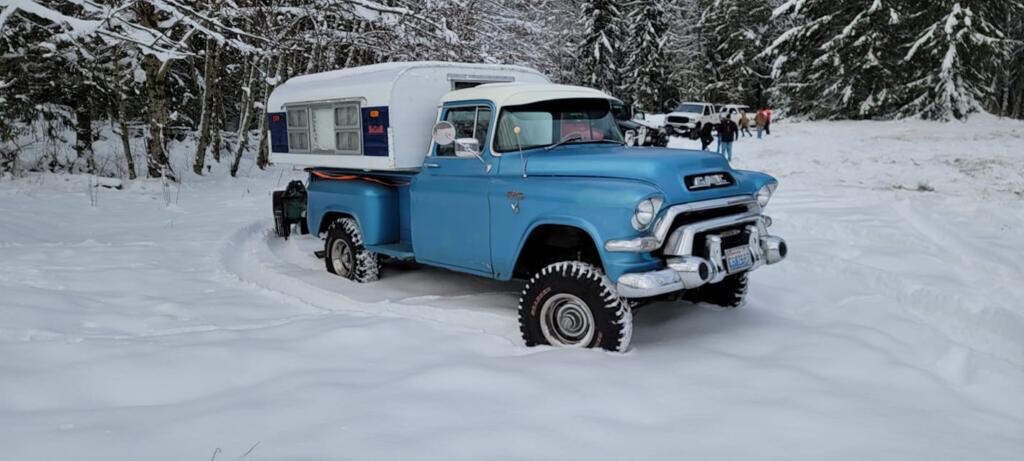
Winterizing Your Alaskan Camper
As the cooler months approach, it’s crucial to protect your Alaskan Camper from the cold weather, particularly the plumbing system. Pipes that haven’t been winterized can freeze and burst when temperatures drop below freezing, leading to significant damage. Beyond the plumbing, winterizing your camper helps maintain its condition, providing an opportunity to clean it out and start fresh next year. Although it may be tempting to skip this step, winterizing is essential if you live in or travel to colder climates, as it helps prevent costly repairs down the line.

Water System
Water Heater
Before starting, ensure that your water heater switch is turned to the ‘off’ position. Begin by draining your water heater by locating the drain plug that takes a 1 1/16″ socket and removing it to allow all water to flow out. Once drained, it’s crucial to make sure the unit remains off as running it dry can damage the unit.
Water Tank
Next, drain your fresh water tank. Find the drain valve for your tank and open it to let all the water out. It’s important to ensure the tank is completely empty to avoid any remaining water freezing and potentially cracking the tank.
Drain Lines
With the tanks empty, focus on clearing the water lines. Turn on your water pump and open all faucets (both hot and cold), as well as your shower. While doing this, remove the filter at the pump to eliminate any leftover water. Allow the pump to run until only air is blowing through the system. Using air pressure, about 30 PSI, can help clear the lines to ensure all water is expelled from the pipes, preventing any remaining water from freezing and causing damage.
Toilet and Tanks
Ensure your toilet’s water is completely drained. Flush the toilet to remove any remaining water from the bowl and tank, and empty the cassette toilet. Additionally, drain the gray water line that runs from your sink to the outside. For extra protection, pour a little undiluted RV antifreeze into the sink drain as you finish up.
Batteries and Solar Panels
Taking proper care of your camper’s batteries during the off-season is crucial to extend their lifespan and ensure reliability on your next journey. Here’s how to effectively winterize your RV’s batteries and manage solar panels during the colder months:
Battery Care and Storage
Begin by fully disconnecting or turning off the batteries, including AGM/lead acid or lithium batteries without a power button, and turning off any related systems to prevent unwanted power drainage and preserve battery health during storage. For lithium batteries, maintain a storage charge between 50%-80% and check the state-of-charge monthly. For AGM or lead acid batteries, store them in an insulated space like a garage or basement that remains above freezing, as sub-freezing temperatures can significantly impact battery performance and lifespan. If unable or unwilling to remove batteries, a trickle charger or maintainer rated for your battery type is recommended to ensure longevity.
Solar Panel
If you’ve opted for the Zamp Solar Panel, rest assured that its robust construction is designed to handle the rigors of winter just as effectively as commercial and industrial solar panels. Featuring tempered glass laminate, these panels meet the same standards for hail and snow load capacity, meaning there’s no need to remove them or adjust their angle to manage snow load during the winter. However, we do recommend clearing the snow from your Alaskan’s roof a couple of times during the winter.
RV Antifreeze
As an alternative to leaving the tank and lines dry, add non-diluted, non-toxic RV antifreeze to the already drained water tank. Run the water pump until the brightly colored antifreeze flows from both the sink and shower, ensuring any remaining water in the lines is replaced with antifreeze. If you’re not in a particularly cold climate and are worried about a residual antifreeze taste in your water (a concern we haven’t experienced but others have mentioned), you can skip adding antifreeze to the system. Instead, directly pour RV-rated antifreeze into the sink and toilet traps as an alternative method.
Ventilation and Moisture Control
Ideally, store your Alaskan in an enclosed space to protect against condensation, or use a high-quality cover if outside storage is your only option. Choose covers that are waterproof, block UV rays, and promote ventilation to prevent mold and mildew. We recommend checking under that cover a couple of times over the winter to ensure everything remains in order.
To maintain a dry, well-ventilated interior and prevent mildew, make sure all vents are securely closed to keep out drafts and wipe away any condensation on surfaces inside your Alaskan before storing it for the winter. Consider using desiccant packs to absorb excess moisture, or run a dehumidifier before placing your Alaskan in storage. There are various dehumidifiers suitable for use in your camper, including desiccant models that operate without electricity, or continuous-use plug-in types if you have access to power. Monitor humidity levels with a hygrometer, aiming to keep them between 30% and 50% to prevent mold growth.
Refrigerator and Propane
Turn off the refrigerator, thoroughly clean it, and leave the door slightly ajar to prevent odors and mildew from developing in a closed, dark space. Also, it’s a good idea to turn off the propane supply. This not only ensures safety but also helps preserve the integrity of the system and prevent leaks.
Let’s button this up. . .
Do yourself a favor now to avoid cursing the cold later. Think of winterizing your camper as tucking it in for a long winter’s nap, complete with a warm blanket and a bedtime story. This tale isn’t about dragons or princesses—it’s about how you cleverly avoided frozen pipes and repairs. Come spring, you’ll awaken to a camper that’s raring to hit the road at the first sign of thaw. Okay, maybe that’s a bit of a stretch, but you get the picture.
Until next time, campers!
