De-Winterizing Your Camper: A Spring Startup Guide
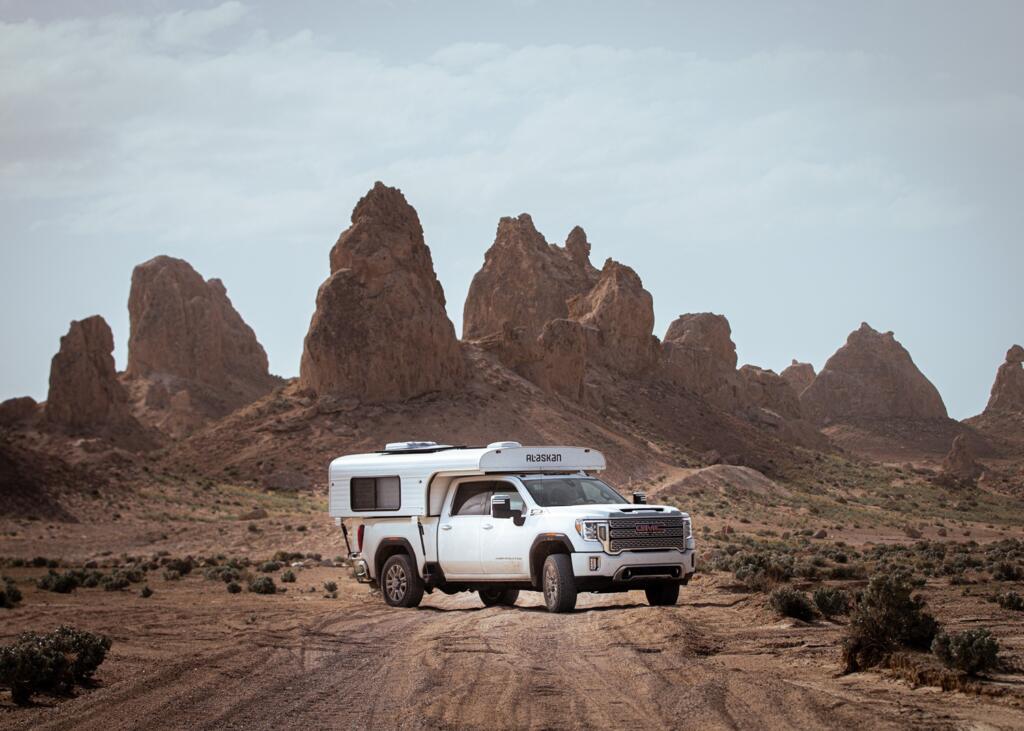
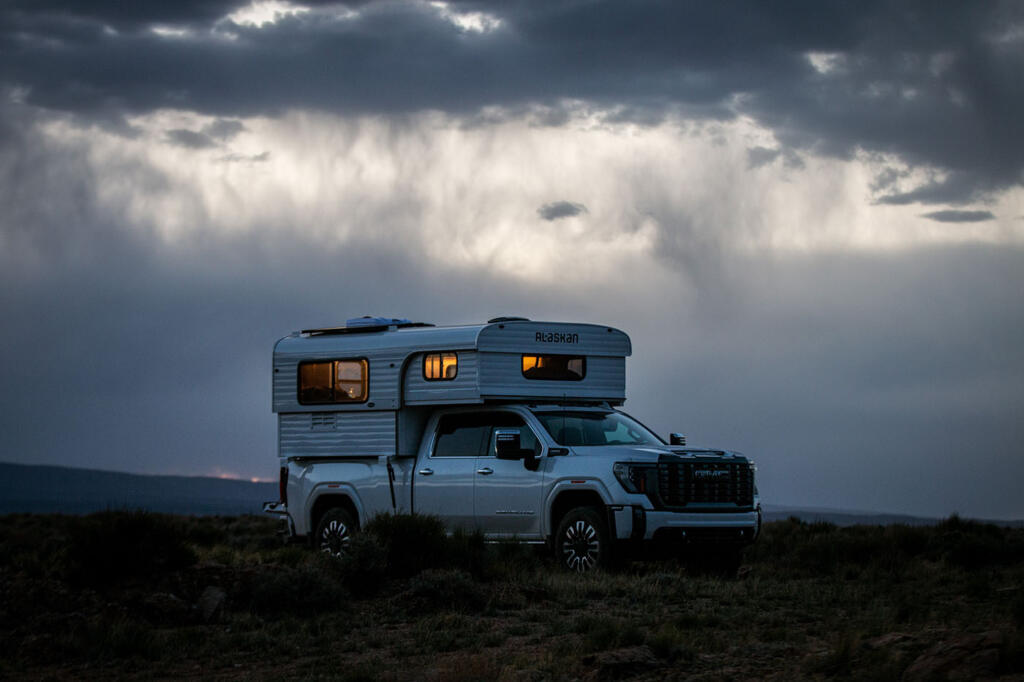
When the snow melts and the roads start calling, your camper should be ready to move. Whether you own a hard-sided Alaskan or another setup built for adventure, de-winterizing is the essential first step. Months of cold and stillness can take a toll—even on the toughest rigs. This isn’t just maintenance—it’s a reset. From seals to tires, batteries to water lines, now’s the time to bring your systems back to life and get rolling.
This guide walks you through each key area of your camper, inside and out, with clear steps, checklists, and pro tips. If you followed our Winterization Guide last fall, you’re already ahead. Now let’s flip the script and get everything road-ready—so you can chase the kind of travel you’ve been waiting for all winter.
Step 1: Exterior Inspection
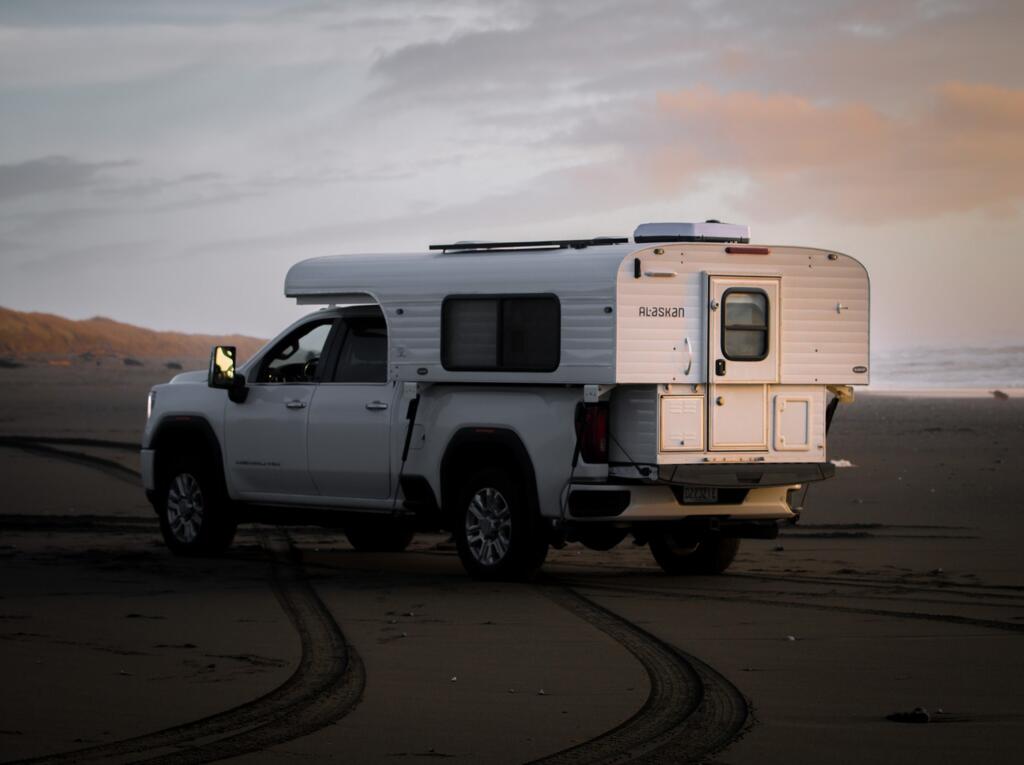
Start with a slow walkaround, working from the top down. Check roof seams, skylights, and vents for cracks, peeling sealant, or separation. Run your hand along the trim and siding to feel for bubbling, warping, or soft spots that could indicate hidden water damage.
Next, inspect all window and door seals for signs of shrinkage, cracking, or mildew. Move down to the tires—inflating to spec, checking for sidewall cracks, flat spots, and brittle valve stems. If you use tire covers, remove them to inspect the full surface.
Finish underneath by scanning the frame, tie-downs, jacks, and suspension components for rust, corrosion, or leaks. If your camper was covered, peel it back slowly and inspect the siding as you go. A quick rinse at the end can help reveal hidden flaws and wash off any salt buildup from winter travel.
Checklist:
☐ Inspect roof seams, vents, and trim for cracks or separation
☐ Check window and door seals for wear or mildew
☐ Inflate tires and inspect for cracks, wear, or aging
☐ Examine jacks, frame, and hardware for rust or leaks
☐ Rinse off road grime and salt buildup
Step 2: Water System Revival
Start by draining any remaining antifreeze. Open all faucets and the outdoor spray port (if equipped), and run the water pump until clear water flows through every line. If the water heater was bypassed, return it to normal flow and flush it.
Sanitize the system by mixing 1/4 cup of unscented bleach per 15 gallons of water in your fresh tank. Pump it through every faucet, let it sit for a few hours, then flush thoroughly with clean water. This removes lingering bleach and ensures safe, odor-free water. Reinstall or replace filters, check for leaks around fittings, and inspect the pump strainer if your setup includes one.
Checklist:
☐ Drain antifreeze and flush lines
☐ Reconnect and flush the water heater
☐ Sanitize with diluted bleach and rinse thoroughly
☐ Check for leaks and reinstall filters
☐ Clean pump strainer (if equipped)
Step 3: Electrical Systems & Battery Checks
If you removed batteries for winter, reinstall them and check for corrosion, tight connections, and charge level (12.6V or higher is ideal). For flooded lead-acid batteries, top off with distilled water. If using lithium or AGM batteries, ensure they stayed within safe voltage range on a maintainer.
Reconnect to shore power and test lights, outlets, and appliances. Then verify smoke, CO, and propane detectors are working—and replace backup batteries if needed. If your camper has solar, inspect the panel for debris or damage and confirm your charge controller is reading properly.
Check hidden wiring under benches and inside access panels for wear or loose connections. Small electrical issues are easier to solve at home than in the field.
Checklist:
☐ Reinstall and check batteries for charge, corrosion, and fluid levels
☐ Test 12V lights, fans, and all 120V outlets
☐ Confirm shore power and converter function
☐ Inspect solar panel and charge controller (if equipped)
☐ Test detectors and replace batteries
☐ Check hidden wiring for damage or loose connections
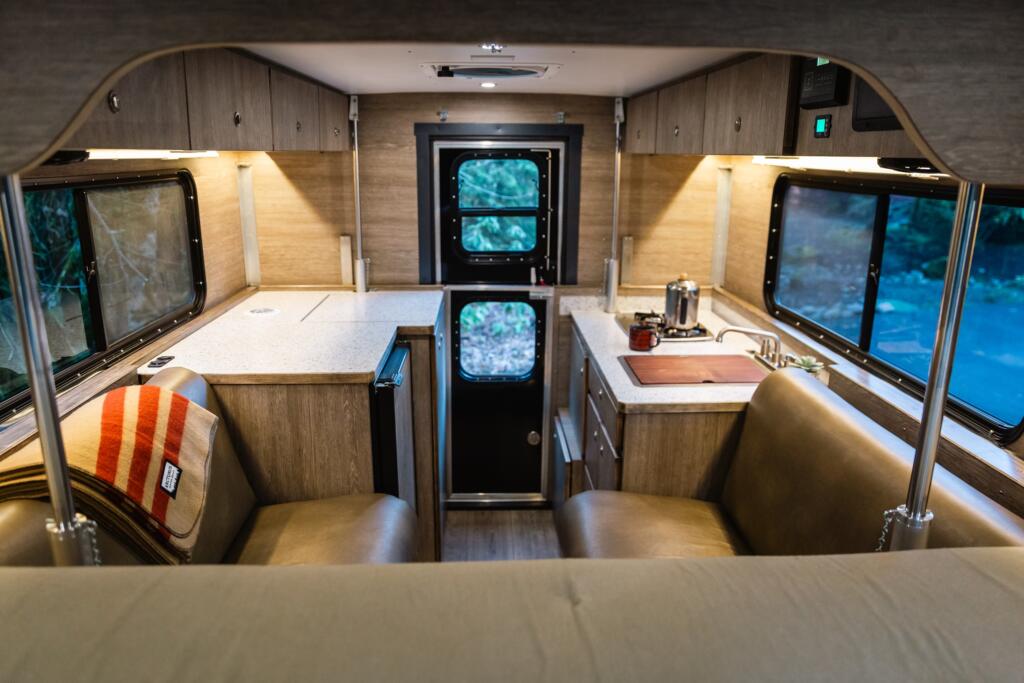
Step 4: Systems Check & Galley Reset
Open your propane valve slowly and test all fittings and hose connections with a soapy water solution. If bubbles appear, shut down the system and make repairs. Replace any lines showing cracks, stiffness, or wear—especially near the regulator.
Clean the fridge with a vinegar solution, inspect the door seals and vents, and clear the freezer drain if present. Run it on electric for at least 12 hours, then switch to propane to confirm both modes cool properly.
Once systems are cleared, reload your pantry, cookware, bedding, and essentials. Refresh your emergency kit, double-check your registration and insurance, and add any comforts that make your camper feel like home.
Checklist:
☐ Leak-test propane fittings and inspect hoses
☐ Clean and test fridge on electric and propane
☐ Clear freezer drain line (if applicable)
☐ Restock pantry, cookware, bedding, and gear
☐ Refresh emergency kit and confirm documents
Step 5: Interior & Final Systems Check
Air out the cabin—open windows, vents, and hatches to clear stale air and moisture. Remove moisture packs and check for dampness in corners or under cushions. Wipe down surfaces, vacuum soft goods, and check for mildew.
Test smoke, CO, and propane detectors, replace batteries, and ensure your fire extinguisher is charged and accessible. Restock your first aid kit with anything expired or missing.
Outside, inflate tires and inspect tread and sidewalls. Test brake, turn, and running lights. Tighten jacks, turnbuckles, and tie-downs. Finally, check your vehicle’s fluids, tire pressure, and electrical connection to the camper.
Checklist:
☐ Air out cabin and remove moisture packs
☐ Clean surfaces, vacuum, and check for mildew
☐ Test and lubricate windows, vents, and latches
☐ Test detectors and replace backup batteries
☐ Verify extinguisher and restock first aid kit
☐ Inflate and inspect tires
☐ Test exterior lights
☐ Tighten tie-downs and mounting hardware
☐ Check vehicle fluids, tires, and camper connection
Final Thoughts: Shake It Down, Then Head Out
Before heading for the horizon, take your camper on a one-night shakedown trip. Sleep in it, cook a meal, run the systems, and see what needs fine-tuning. It’s a low-stakes way to surface any issues before you’re deep in the backcountry—and a reminder that even the prep can be part of the fun.
Oh, and here’s a PDF download of the checklist items, if you’d like a printable version to follow-along as you walk around your camper.
Camper_De-Winterizing_Checklist
Looking for more tips before your first big trip? Check out these popular articles:
Building the Ultimate Emergency Road Trip Kit
How to Find Dispersed Camping Spots